Expose IPv6 (no IPv4) from AWS – EC2 machine
This article will cover step-by-step instructions to launch a WordPress blog on an EC2 machine. This machine will only have IPv6 exposed and there will be no IPv4. But before we get into the steps, let us understand why we need IPv6 in the first place. Below are some of the reasons.
- IPv6 is better than IPv4.
- IPv6 supports 1,028 times more IP addresses than IPv4.
- It is comparatively faster than IPv4
- IPv6 has larger packet headers (about twice as large as IPv4).
- IPv6 includes built-in Quality of Service (QoS).
- IPv6 has a built-in network security layer (IPsec).
- IPv6 eliminates Network Address Translation (NAT) and allows end-to-end connectivity at the IP layer.
- IPv4 is not free anymore from February 2024 under AWS Free Tier. Read more about it on AWS News Blog. Why pay for IPv4 if you have a better and faster alternative?
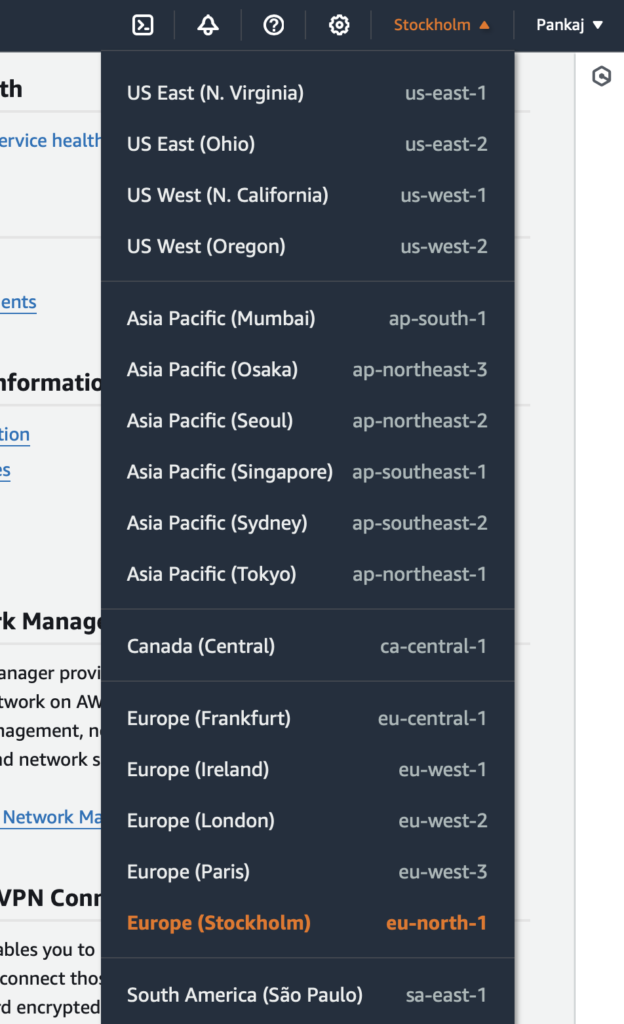
IPv6 is not supported in t2.micro instance. You need to have a minimum of t3.micro for IPv6 support. AWS has a policy for all the regions that support t2.micro, you cannot use t3.micro under the free tier. Since I am using an AWS free tier, I will use Europe (Stockholm) eu-north-1 region for this blog because this region doesn’t support t2.micro so t3.micro is the only option AWS have under the free tier, exactly what I need. However, feel free to use any EC2 instance that supports IPv6 if you’ve not using the AWS free tier.

This post will contain steps from creating VPC, subnets, Route Tables, EC2 machine, Target Group and Load Balancer. Let’s get started with VPC.